CloudFlare is service which works as a reverse proxy for your website. What that means is when someone visits your website, the request will go to CloudFlare, then CloudFlare will download the website from the hosting provider and serve it to the user.
The advantage of doing this is CloudFlare does many performance and security enhancements so your website will load faster and be more immune to malicious attacks. They’ve also recently added free SSL support.
Adding SSL
First off, head over to CloudFlare and register a new account:

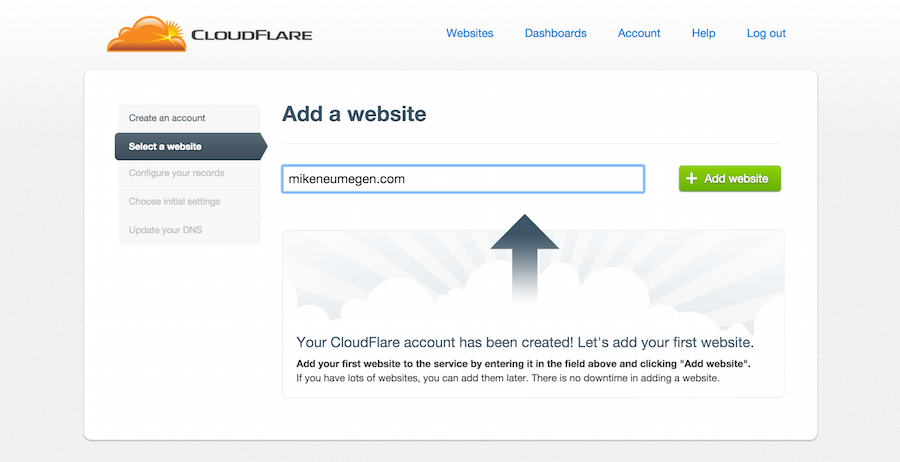
Next it’ll ask for your website address:
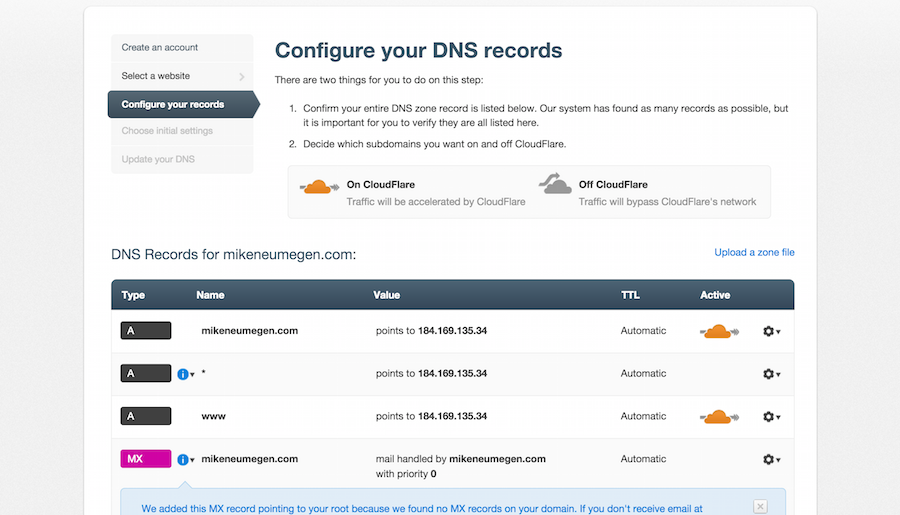
After this CloudFlare will take about a minute to scan your existing DNS records. Once it’s finished it, it’ll show you the DNS records it’s found. You need to verify these records are correct. For CloudCannon websites the DNS records are fairly simple, usually the setup is:
- an A record for the root domain pointing to 184.169.135.34
- an A record for *.rootdomain pointing to 184.169.135.34
- perhaps an MX record if you have email set up for that domain
Once you’re happy these are correct, click the continue button:
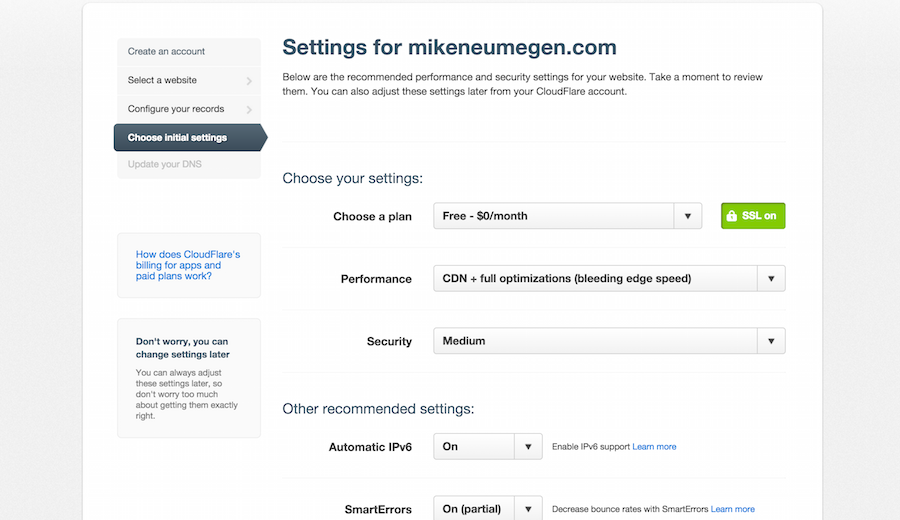
Next up is configuring CloudFlare. I switched the plan to Free and the performance to CDN + Full optimizations:
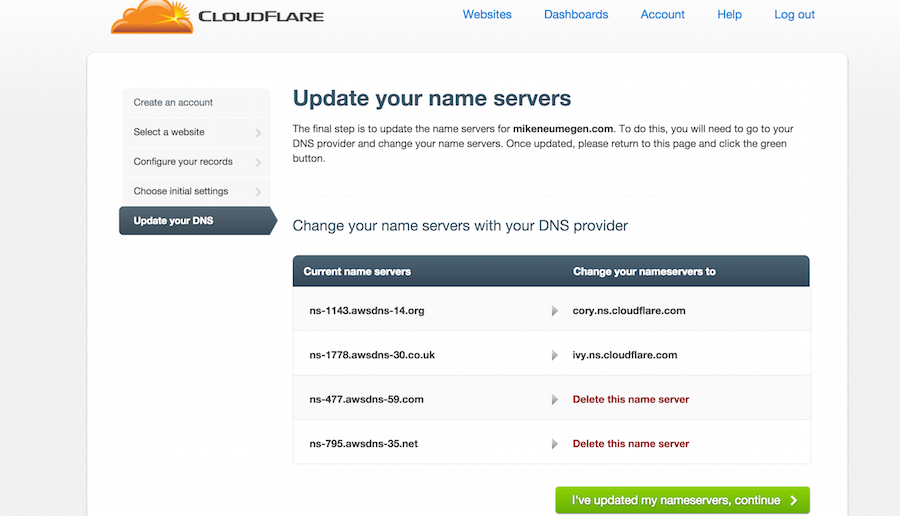
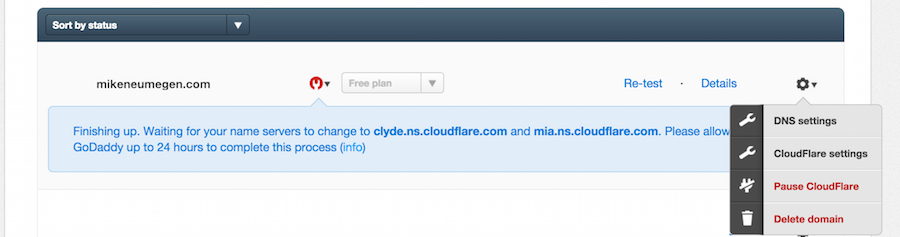
Now you need to update your nameservers. Log in to your domain provider and change the nameservers to the ones that CloudFlare gives you:
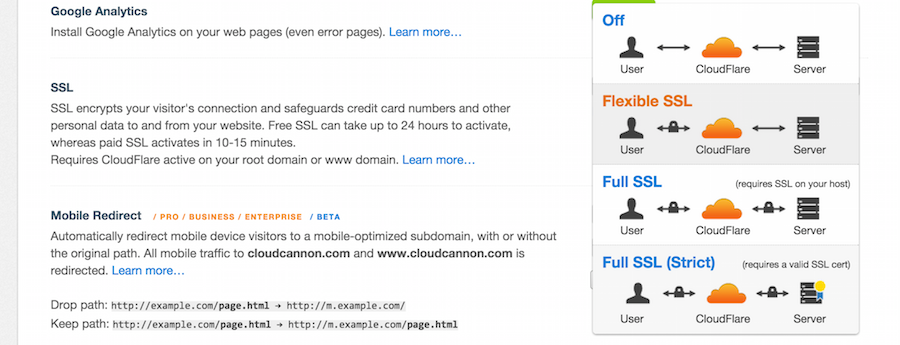
Almost finished! Now go into your CloudFlare settings:
Find the SSL section and change it to Flexible SSL:
That’s it! Changing your DNS can take up to 48 hours to propagate and CloudFlare’s free SSL can take up to 24 hours to set up. There should be no downtime, but it could take a day or two before you have SSL and CloudFlare serving your website.
Redirecting HTTP to HTTPS
To redirect all HTTP traffic to HTTPS:
- Set up CloudFlare SSL
- Add this page rule to your CloudFlare configuration