This tour sets up your first site on CloudCannon, showcases some of the features and demonstrates different editors.
Download the creative site and follow along, or just read through the steps. The creative site is a free HTML template enhanced with Jekyll features.
Preparation
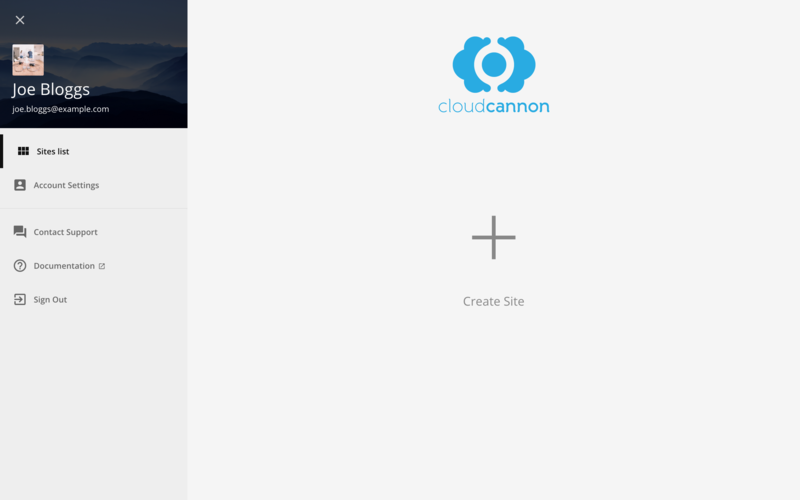
Sign up for a CloudCannon account, then create a new site from the Sites List:
- Select Add Site
- Type a name for your site (e.g. Creative)
- Press Enter to confirm
Adding Files
CloudCannon works directly with the static or Jeykll source files you provide. To upload the creative site source files:
- Open the Add Files menu
- Select Upload a folder
Alternatively, drag and drop files into the File Browser.
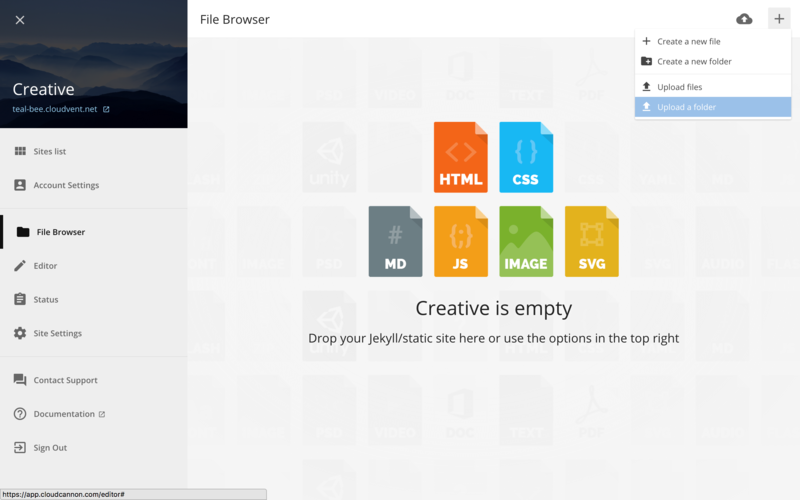
Some browsers do not support folder upload. The best alternative in this case is syncing with a storage provider.
Each file uploads individually to CloudCannon through your web browser. After the uploads finish, CloudCannon builds the site and deploys it to a test domain.
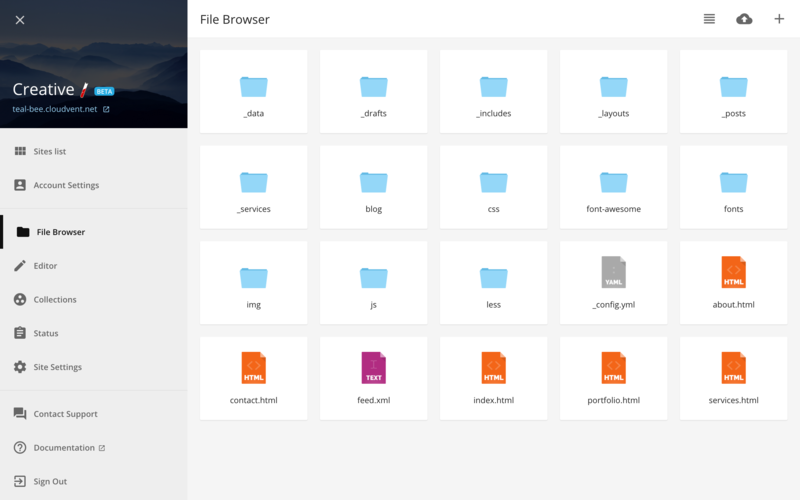
View the live site on the test domain by clicking the *.cloudvent.net link in the top left.
Keep a full history of changes and work on your local machine by syncing files with a storage provider instead.
Inline Editing
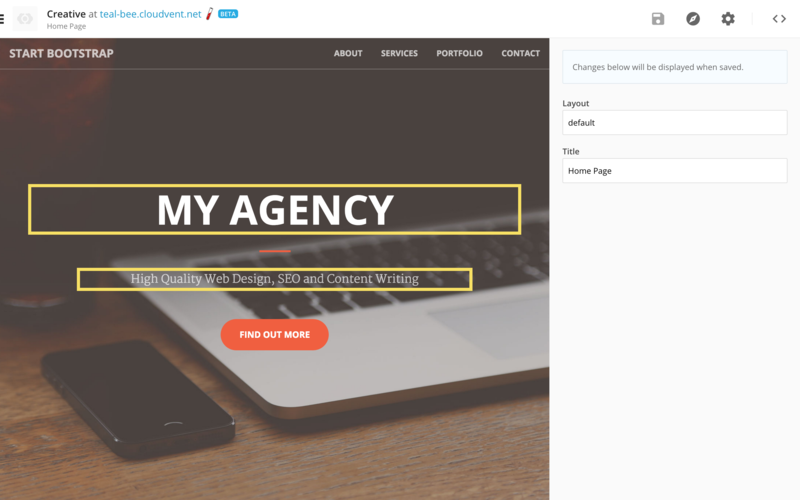
Open the Visual Editor by selecting Editor in the left sidebar.
The Visual Editor is for making content changes inline on the website. Yellow boxes indicate Editable Regions in each page. Navigate around the site to make changes to other pages.
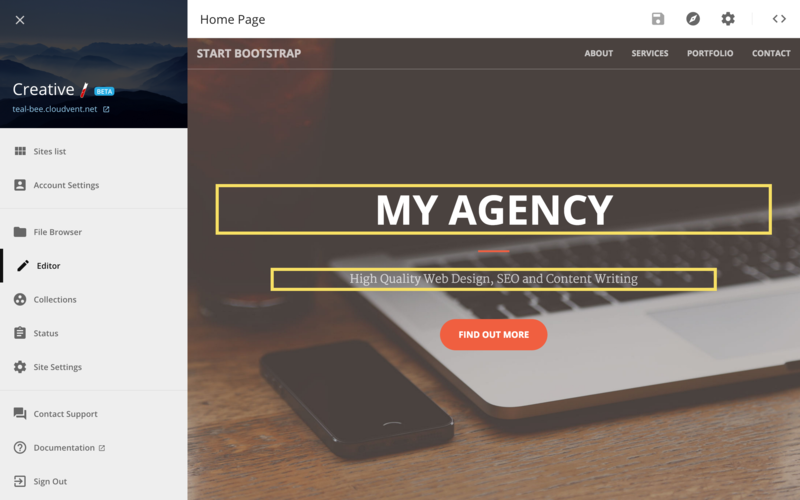
Front Matter is a Jekyll feature for defining custom metadata on a page (e.g. title or layout). CloudCannon provides the Settings Panel to update front matter within the Visual Editor. Open it with the Toggle Settings button in the top right for pages with front matter.
Code Editing
The Source Editor provides developer-access to the raw source code of a file. To open files in the source editor, open files from the File Browser, or select Switch to Source Editor in the top right of the Visual Editor.
If you’re editing /index.html, the h1 and p have class="editable", defining those elements as editable in the Visual Editor.

Clients and non-developers don’t have access to the Source Editor.
Content Editing
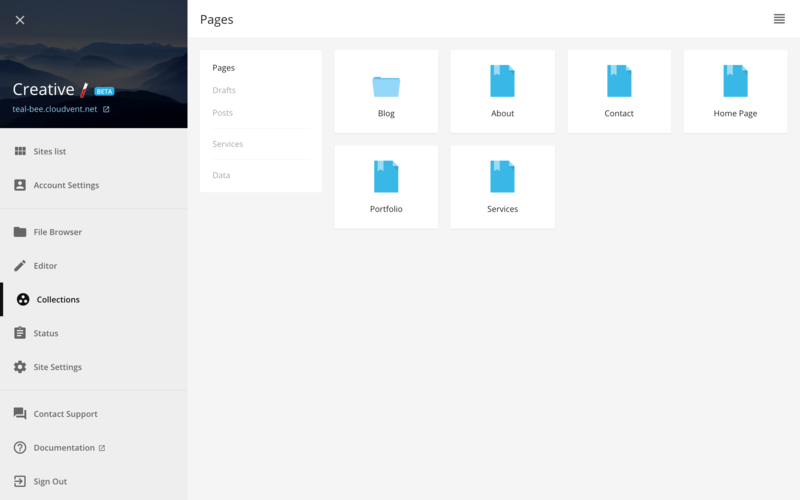
Open the Collections section by selecting Collections in the left sidebar. This section contains your pages, drafts, posts, collections items and data files.
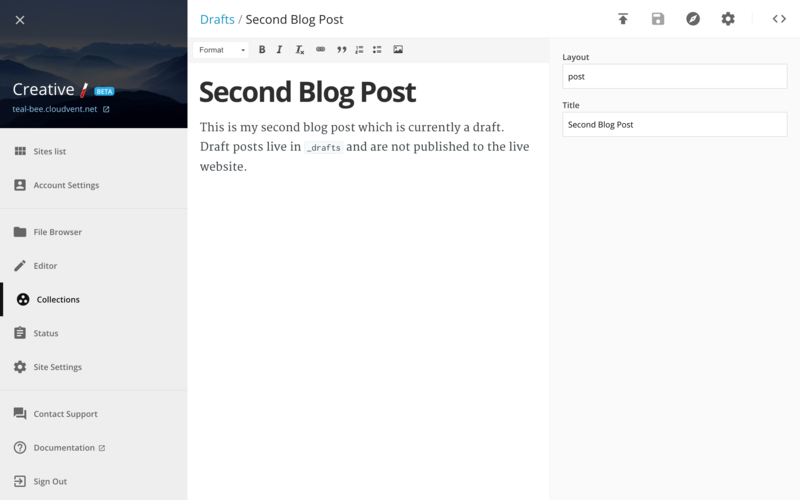
Select the Drafts group and open the Second Blog Post draft. The draft opens in the Content Editor, a distraction-free WYSIWYG editor that saves to Markdown.
Draft posts are hidden on the live site until published. To publish the draft:
- Make final edits to the main content and front matter
- Select Publish Post in the top right
Make future changes to published posts with the Content Editor or inline with the Visual Editor.
Open the Collections section again and select the Services group.
Services is a Jekyll collection, a feature used to group related items in a scalable way. This collection is for listing the services offered on the creative site.
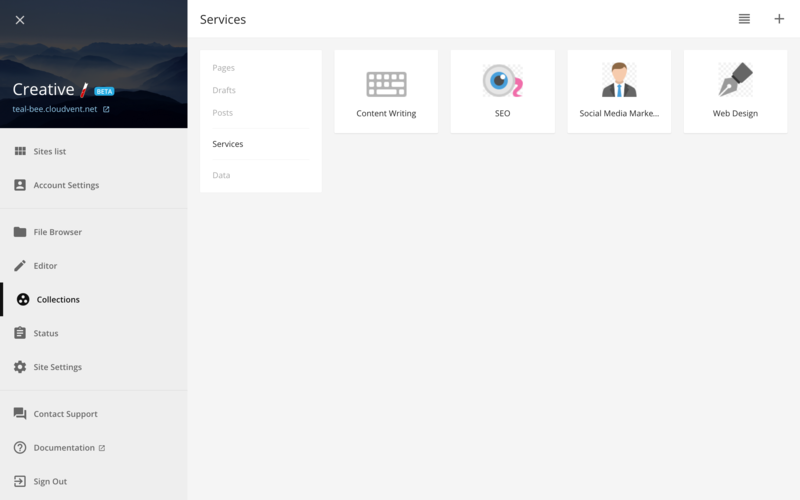
Open any of the collection items in Services. Collection items are updated in the Content Editor the same way as drafts and posts.
Next Steps
This tour only covers some of the features available to you.
Explore the features CloudCannon offers at your own pace through this documentation. Extend this tour by providing editing access to clients with Client Sharing or look through the overview for a summary of each section.
Jekyll Tips has vast range of curated resources, guides and videos for Jekyll. Improving your Jekyll skills allows you to build better sites and editing experiences with CloudCannon for your team and clients.
Contact us at support@cloudcannon.com with any questions or feedback.