Available for Jekyll sites.
Manage your Jekyll collections with ease in CloudCannon.
Collections are for managing groups of structured content. The concepts are similar to Blogging, without the chronological restriction. Collections have many applications, including: API documentation, products, albums and blog authors.
CloudCannon provides an easy-to-use interface for managing collections. To access the CloudCannon collections interface:
- Add a Jekyll site with at least one collection
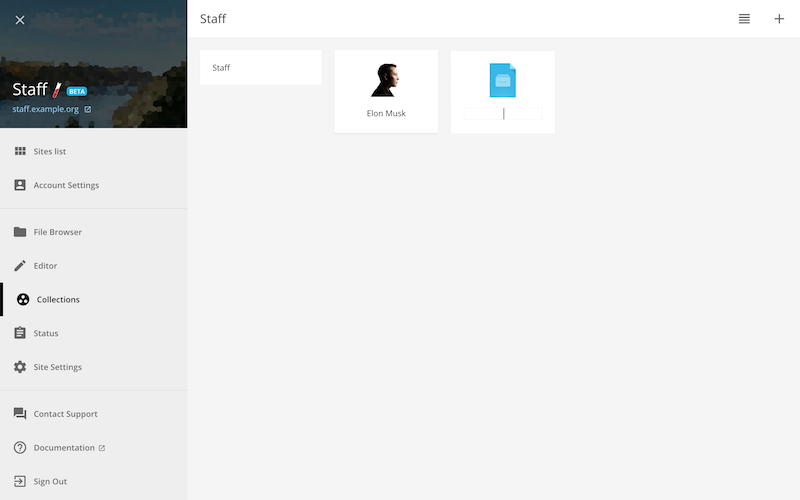
- Go to the tab for your collection in the Collections section

To create a new collection item:
- Open the Add Files menu in the top right corner and select Add Collection Name
- Enter a title/filename for the item and press enter
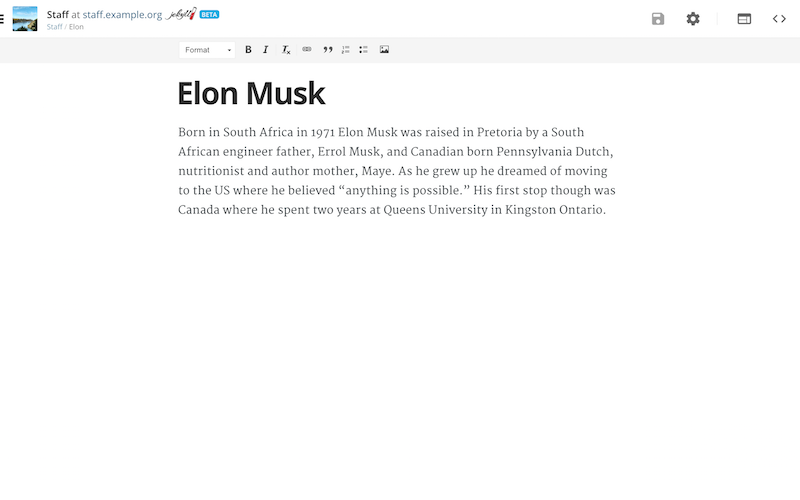
Your file will be opened in the CloudCannon content editor. Front matter for the file is populated from Collection Defaults or an existing item to keep the structure consistent.
There are a number of ways to add content for your new item:
- Type the main content directly onto the page
- Insert images, links, and style your text with the editor controls above
Non-output HTML collections can only be edited in the Source Editor.
The owner and developers of a site can access the raw file content via the Switch to Source Editor button.
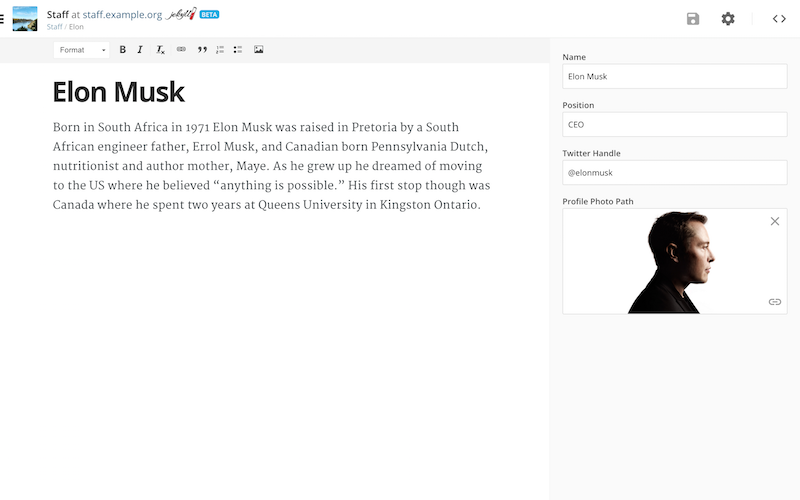
Front matter (e.g. title, description and thumbnail) can be updated in the Settings Panel, accessed by selecting the Toggle Settings button in the top right corner.
Hide front matter by putting it in Jekyll Defaults instead.
To create a Jekyll collection to manage and display staff members, follow this example (assumes /_layouts/default.html exists):
-
Define the staff collection and default layout in
/_config.yml:collections: staff: output: true defaults: - scope: path: "" type: "staff" values: layout: "staff-member"Jekyll generates a page for each staff member with
output: true. The default staff-member layout avoids setting it in each file. -
Create
/_staff/elon.mdwith the following content:--- name: Elon Musk position: CEO twitter_handle: "@elonmusk" profile_photo_path: http://www.wired.com/images_blogs/wiredscience/2012/10/ff_musk4_f.jpg --- Born in South Africa in 1971 Elon Musk was raised in Pretoria by a South African engineer father, Errol Musk, and Canadian born Pennsylvania Dutch, nutritionist and author mother, Maye. As he grew up he dreamed of moving to the US where he believed “anything is possible.” His first stop though was Canada where he spent two years at Queens University in Kingston Ontario. -
Create
/staff.htmlto display all staff members:--- layout: default --- <ul class="staff-members"> {% for member in site.staff %} <li class="staff-member"> <img src="{{ member.profile_photo_path }}" alt="{{ member.name }}"> <p> <a href="{{ member.url }}"> {{ member.name }} - <strong>{{ member.position }}</strong> </a> </p> </li> {% endfor %} </ul>Jekyll provides the
urlattribute to link to the generated page for each staff member. -
Create the
staff-memberlayout by creating/_layouts/staff-member.html. Generated staff pages use this file:--- layout: default --- <img src="{{ page.profile_photo_path }}" alt="{{ page.name }}"> <h1>{{ page.name }} - {{ page.position }}</h1> <p>Twitter Handle: {{ page.twitter_handle }}</p> {{ page.content }}