Available for Jekyll sites.
Create and manage Jekyll blogs with CloudCannon.
Jekyll blog posts are Markdown files located in the _posts folder, with filenames in the YEAR-MONTH-DAY-title.MARKUP format. The contents of a post file starts with front matter, and has the content underneath. For example:
---
title: My First Blog Post
---
The content for my post is here.

* Markdown is great for developers
* CloudCannon has an easy-to-use interface for non-developers to write Markdown
To access the CloudCannon blogging interface:
- Add a Jekyll site with at least one published post or draft
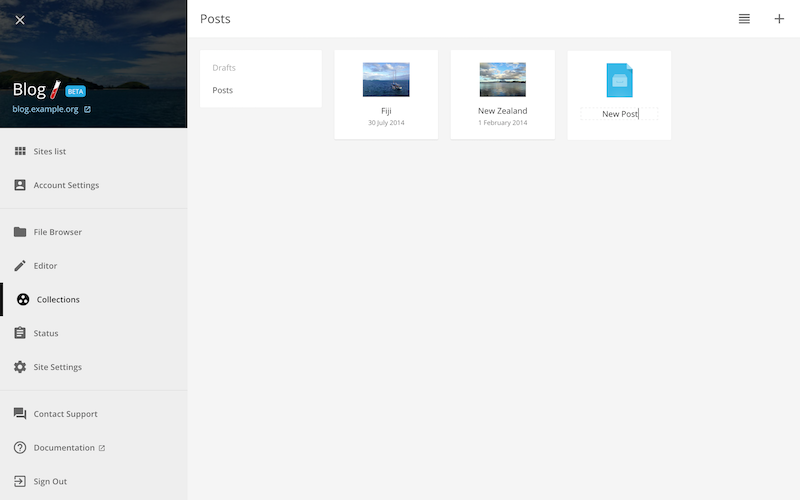
- Go to the Collections / Posts or Drafts section

To start a new draft from the Collections / Posts or Drafts sections:
- Open the Add Files menu in the top right corner and select Add Draft
- Enter a title/filename for the post and press enter
Your file will be opened in the CloudCannon content editor. Front matter for the file is populated from Collection Defaults or an existing item to keep the structure consistent.
Draft posts are hidden on your live site unless set otherwise in Site Settings / Details.
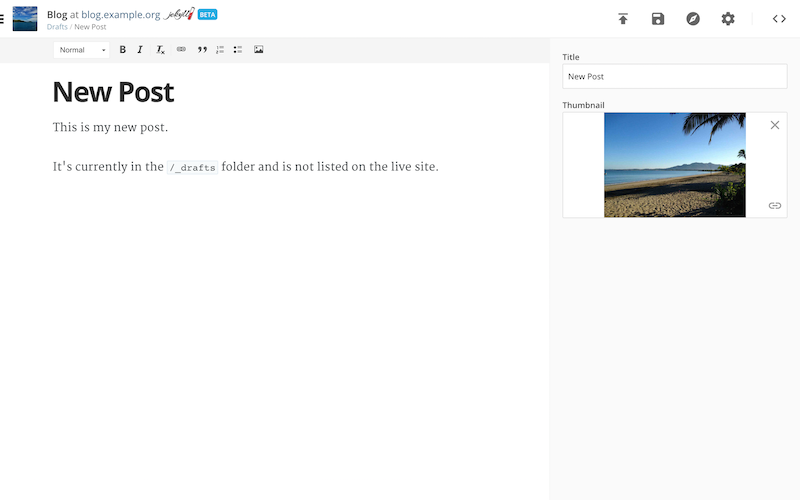
There are a number of ways to add content for your new draft:
- Type the main content directly onto the page
- Insert images, links, and style your text with the editor controls above
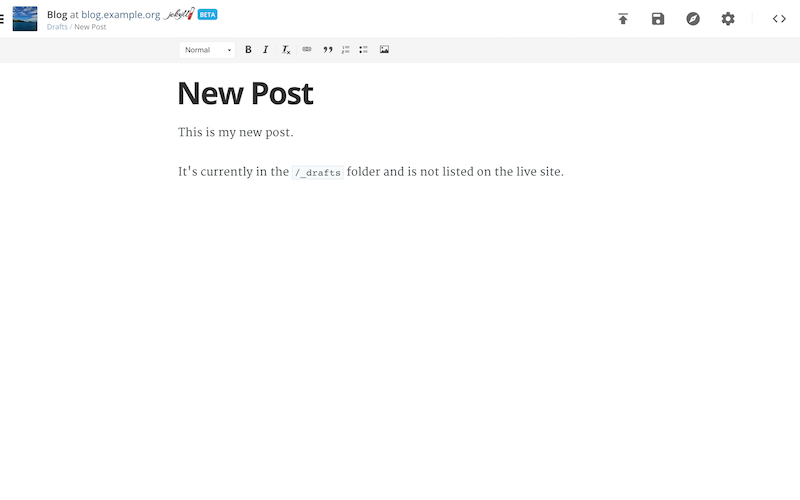
Once the content is finished, publish your post with the button provided in the top right. Posts can always be edited after publishing.
The owner and developers of a site can access the raw Markdown via the Switch to Source Editor button.
Front matter (e.g. title, description and thumbnail) can be updated in the Settings Panel, accessed by selecting the Toggle Settings button in the top right corner.
Hide front matter by putting it in Jekyll Defaults instead.